How to Resize an Image to Exact Pixel Dimensions
OutputLabs Team · 2026-07-04
When You Need to Resize a Photo
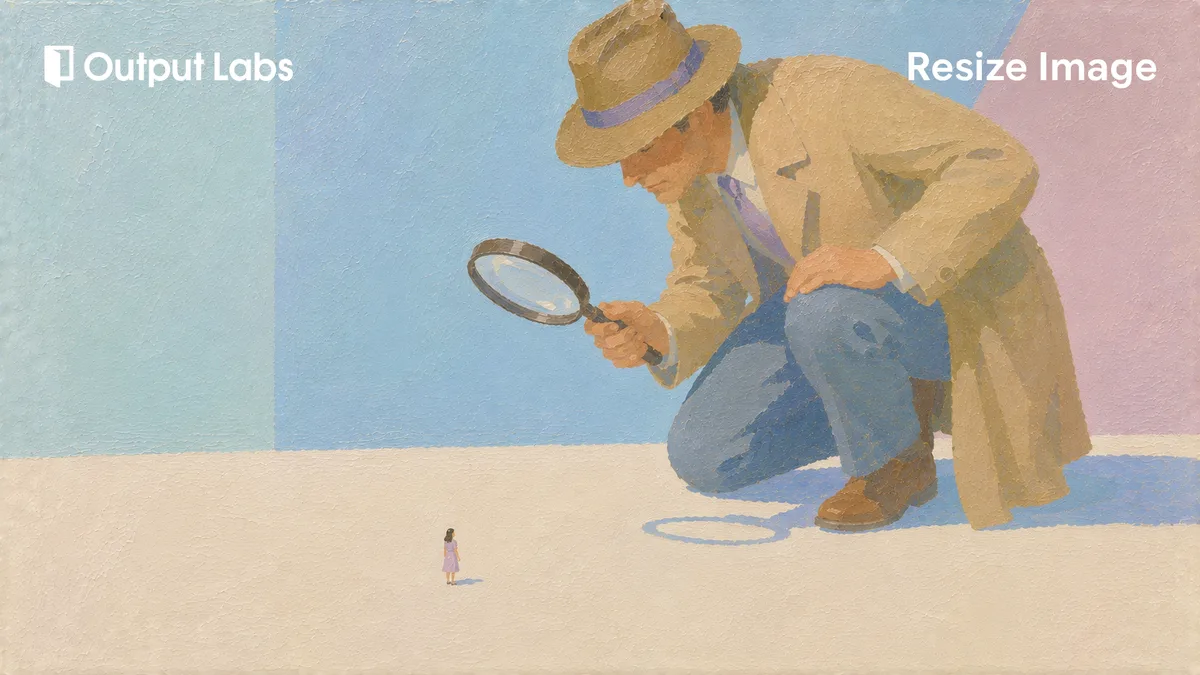
Sometimes a photo is simply too large to go where you need it. Upload limits on websites and email providers, exact pixel requirements for profile pictures or banners, and page-speed targets for blogs and online stores all demand a specific size. Resizing lets you set the exact pixel dimensions you need rather than hoping the platform scales it down acceptably on its own.
Modern smartphone photos often exceed 4000×3000 pixels — far larger than a screen ever displays them. Dropping to a sensible width before uploading can cut file size dramatically, speed up page loads, and save storage without any visible quality loss at typical display sizes.
Resize vs. Compress vs. Crop — What’s the Difference?
Resize, compress, and crop sound interchangeable, but they do three different jobs. Resizing changes the pixel dimensions themselves — the actual width and height of the image. Compression leaves the pixels alone and only shrinks the file size, while cropping cuts away part of the image to change its framing.
The easiest way to choose is to start from the problem, not the tool. If the complaint is “this file is too big to upload,” you want compression. If you need to hit an exact pixel spec like 1200px wide, that’s a resize, and if the proportions are wrong or something in the frame needs to go, reach for crop.
When a job calls for all three, crop → resize → compress is the natural order. Cropping first decides which pixels survive and locks in the aspect ratio, resizing then sets the final dimensions, and compressing last trims the file size in a single pass. Reversing the order means resizing pixels you’re about to throw away or compressing twice, which only costs quality. OutputLabs has all three tools, so you can chain just the steps you need.
Tips for Better Results
Leave aspect-ratio lock on unless you deliberately want to distort the image. Enter just the width — say, 1200 — and the height follows automatically, keeping the photo's proportions intact. Only turn it off when you need to force a fixed canvas size that doesn't match the original ratio.
Scaling an image above its original resolution will look soft or pixelated — the tool can't invent detail that wasn't there. If you need a larger version, always start from the highest-resolution original you have. For web use, shrink the width to your layout's max display size and save as WebP; you'll typically cut file size in half compared to JPG at the same visual quality.
Resize Image
Hit an upload size limit, need a photo at exact pixel dimensions, or just want to shrink a huge phone shot? Resize images free in your browser.
Frequently asked questions
No. Your original stays exactly as it was — you download a separate, resized copy. Everything runs inside your browser, so your image is never sent to a server.
You can upload JPG, PNG, or WebP. When saving, you can choose any of those three as the output format. HEIC files from iPhones are also read automatically if you drop them in.
You can set width and height completely independently. Entering values that don't match the original ratio will stretch or squash the photo, so only turn it off when that's intentional — for example, forcing a square thumbnail from a landscape photo.