How to Make Product Shots and Thumbnails from a Background-Removed Photo
OutputLabs Team · 2026-07-04
Clean White-Background Product Shots, No Studio Needed
A cluttered background is often the one thing standing between your photo and a listing that looks trustworthy. Most marketplaces prefer — and some require — a clean white background for the main product image. Even a photo taken on your bedroom floor can pass for a studio shot once the background is gone.
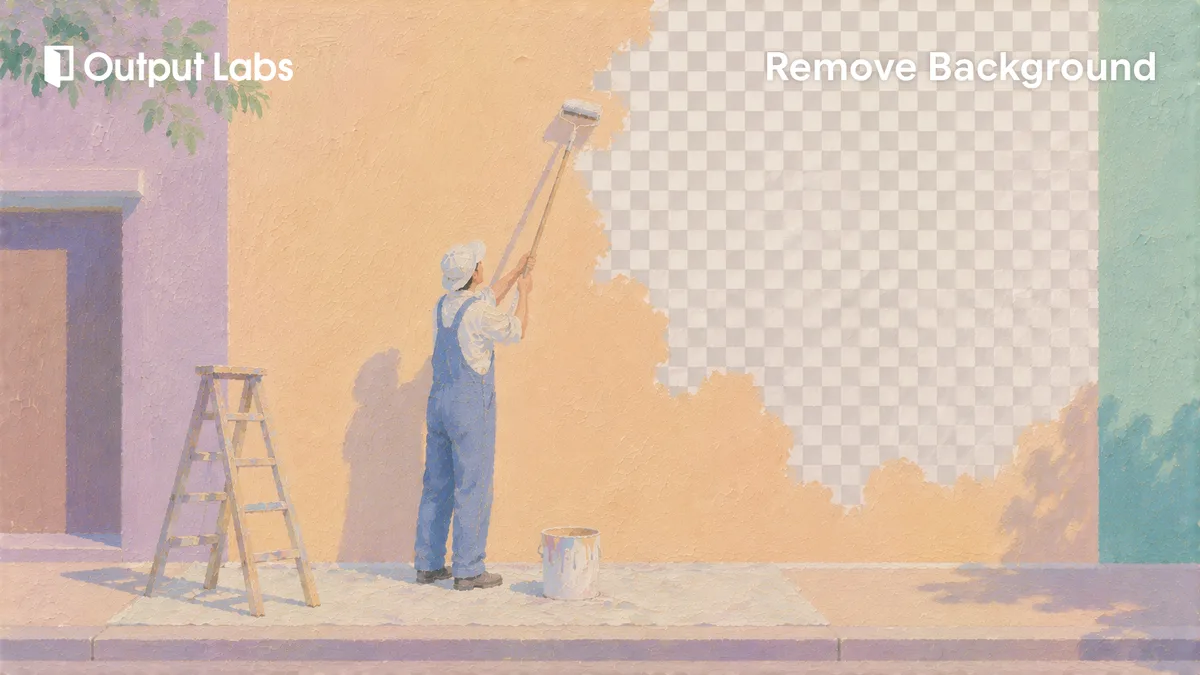
The workflow is simple. Upload the product photo, let the AI remove the background in one click, save the transparent PNG, and drop it onto a white canvas in any editor. Swap that white for light gray or your brand color, and you can give a whole product page a consistent look.
The Same Trick Works for Thumbnails and Profile Photos
Thumbnails that get clicked tend to share one trait: the person is cleanly separated from the background. Put your cutout over a bold color, add an outline or a drop shadow, and the eye goes straight to the face. Layering title text partly behind the person is another effect that only works with a cutout.
Profile pictures follow the same recipe. Place a background-removed portrait over a solid blue or gray, and you get a clean profile photo that fits anywhere. Stickers, merch mockups, and slide covers — anything meant to spotlight a single subject — work exactly the same way.
A Transparent PNG Drops into Almost Anything
You don’t need special software to use the transparent PNG you saved. Drag it into PowerPoint and it lands on the slide with the background still see-through; put a shape or a color behind it and that becomes the new backdrop. It’s especially handy for placing a person or product front and center in a presentation.
In web editors like Canva, you just upload the PNG and pick a background template to sit behind it. The same flow works on a phone with your photo app or any editing app. Wherever you edit, one transparent PNG is all the raw material you need.
Making the Composite Look Natural
Drop a cutout onto a random background and it can look like it’s floating. The biggest culprit is a color mismatch, so a subject shot in warm light looks most natural over a warm-toned background. Nudging brightness and color temperature in your editor so subject and backdrop share one tone removes most of the pasted-on feeling.
Shadows make a surprising difference too. A single soft gray ellipse under the subject’s feet or base is enough to make it feel grounded. Finally, keep the subject at a realistic scale against the background, and a fresh composite reads as if it had always been one photo.
Remove Background
Practical workflows for turning a transparent PNG cutout into white-background product shots, YouTube thumbnails, and profile photos — plus how to composite it in PowerPoint or Canva and make the result look natural.
Frequently asked questions
Rules vary by marketplace, but many recommend a white or solid-color background for the main image. Even where it isn’t required, white-background shots look tidier in listings, so placing your background-removed PNG on a white canvas keeps you safe on virtually any platform.
Transparency only survives in the PNG format. If the file passes through another tool and gets converted to JPG along the way, the transparent areas are filled in with white. Keep the background-removal result as a PNG and it will land on the slide with no white box.
YouTube thumbnails are standardized at 1280×720 pixels in a 16:9 ratio. For marketplace product shots, a square around 1000×1000 pixels is a safe choice. Set your editor’s canvas to that size first and drop in the transparent PNG, and there’s nothing to shrink afterwards.
Yes. Background removal runs in your phone’s browser just the same, and your photo never leaves the device. Load the saved transparent PNG into an editing app like Canva, put a background behind it, and you can finish the whole job without a computer.